支援
FAQs
 下单和报价
下单和报价


 技术帮助
技术帮助

Please fill out our “Customer Support” form and a TESCOM sales associate will contact you.
 技术帮助
技术帮助

TESCOM offers an one year warranty service for all our products. Since our products are built-to-order and shipped internationally, we are not able to offer refunds unless the order is cancelled before shipment.
 配送和交期
配送和交期

TESCOM accepts most payments via ACH wire transfer.
If you pay by credit card or PayPal, additional fees will be incurred.
You may either use your own shipping account or have Tescom pay for shipping and handling. If Tescom pays for shipping and handling, please note the fees will be added to the final invoice and may not be reflected in the initial estimate.
Delivery time depends on factors like the size of your order, our inventory, customization requests, and your location. Our lead time is generally between 4-8 weeks.
Rates vary depending on weight, dimensions and distance. Please note that all products are shipped internationally from Korea.
Once your order is shipped, TESCOM will send you an air waybill with tracking information.
 下单和报价
下单和报价

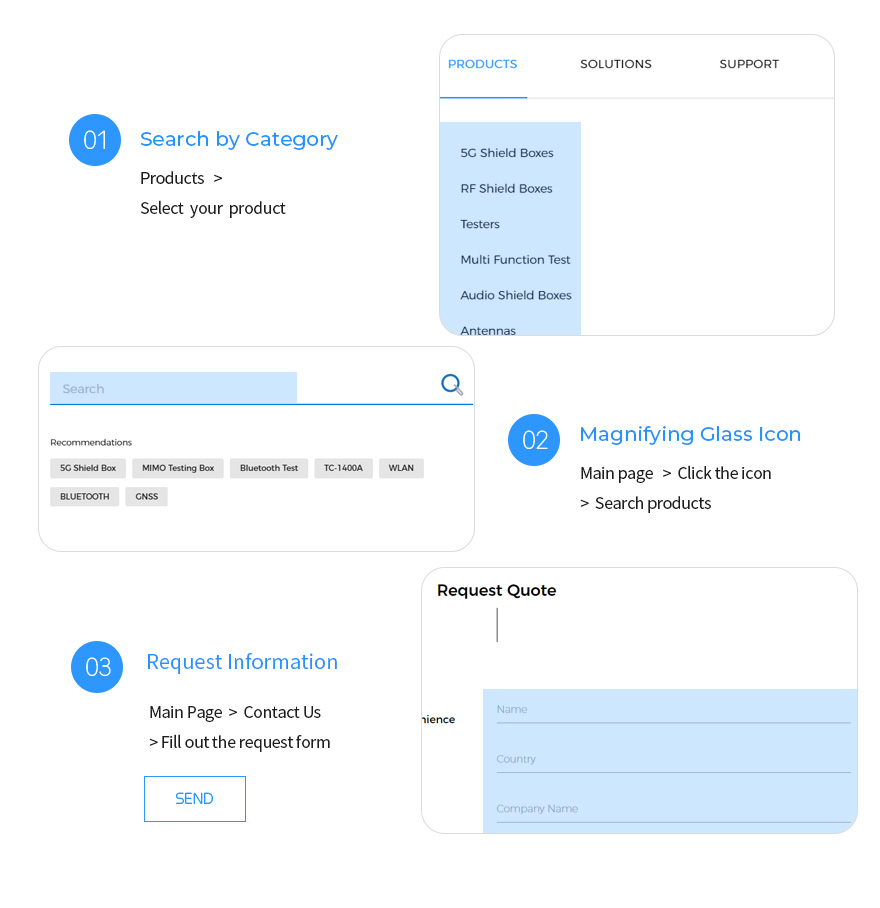
Please fill out our 'Request Quote' form and a Sales Associate will contact you witin 2 business days.
TESCOM can also customize and upgrade most existing products. Please feel free to ask us for more details.
 固件和软件帮助

적용모델 : TC-3000A, TC-3000B
TC-3000A/B를 펌웨어 업그레이드하기 위해서는 2가지 방법이 있다.
1. 디스켓을 이용하여 원하는 버전을 다운로드하는 방법이 있고
2. FTP를 이용하여 최종 버전을 다운로드하는 방법이 있다.
1. 디스켓을 이용하는 방법
1) MENU 버튼을 누른다.
2) Configuration 을 선택하고 Rotary Knob 또는 ENT 버튼을 누른다.
3) M5 (Network) 버튼을 누른다.
4) F8 (More 1/3) -> F8 (More 2/3)를 누른다.
a
6) Diskette 를 선택하고 Rotary Knob 또는 ENT 버튼을 누른다.
7) "Insert diskette #1 into floppy driver"이 표시되면 1번 디스켓을 삽입한 상태에서 OK 를 선택하고 ENT 버튼을 누른다.
8) "Insert diskette #2 into floppy driver"이 표시되면 2번 디스켓을 삽입한 상태에서 OK 를 선택하고 ENT 버튼을 누른다.
9) "Insert diskette #3 into floppy driver"이 표시되면 3번 디스켓을 삽입한 상태에서 OK 를 선택하고 ENT 버튼을 누른다.
- "Upgrade DSP Firmware(about 6 minutes)"이 표시된다.
- "Upgrade FPGA Firmware(about 4 minutes)"이 표시된다.
10) "Upgrading DONE : Reboot to activate"이 표시되면 OK 를 선택하고 ENT 버튼을 누른다.
11) TC-3000A프로그램이 자동 종료되며 TC-3000A의 전원을 OFF -> ON시킨다.
1.1 업그레이드 디스켓 작성 방법
a) ftp://tescom.org/pub/TC3000A/ 에 접속(익명 연결)한다.
b) 버전별로 업그레이드 파일이 제공되어 있으며 필요로 하는 디렉토리에 접속한다.
(예를 들어 v1.17이라면 ftp://tescom.org/pub/TC3000A/v1.17/)
c) 다음과 같이 디스켓을 작성한다.
- ftp://tescom.org/pub/TC3000A/v1.17/Upgrade/disk1/ 에서 1을 1번 디스켓에 복사한다.
- ftp://tescom.org/pub/TC3000A/v1.17/Upgrade/disk2/ 에서 2을 2번 디스켓에 복사한다.
- ftp://tescom.org/pub/TC3000A/v1.17/Upgrade/disk3/ 에서 3, last( )를 3번 디스켓에 복사한다.
2. FTP를 이용하는 방법
1) MENU 버튼을 누른다.
2) Configuration 을 선택하고 Rotary Knob 또는 ENT 버튼을 누른다.
3) M5 (Network) 버튼을 누른다.
4) F8 (More 1/3) -> F8 (More 2/3)를 누른다.
5) Upgradfe IP가 64.33.6.108 인지 확인한다.
6) F3 (Upgrade S/W) 버튼을 누른다.
7) Remote FTP 를 선택하고 Rotary Knob 또는 ENT 버튼을 누른다.
8) "Download S/W from 64.33.6.108"이 표시되면 OK 를 선택하고 ENT 버튼을 누른다.
- "Upgrade DSP Firmware(about 6 minutes)"이 표시된다.
- "Upgrade FPGA Firmware(about 4 minutes)"이 표시된다.
9) "Upgrading DONE : Reboot to activate"이 표시되면 OK 를 선택하고 ENT 버튼을 누른다.
10) TC-3000A프로그램이 자동 종료되며 TC-3000A의 전원을 OFF -> ON시킨다.
주의사항 : 명령 프롬포트에서 "ping" 명령어를 사용하여 TC-3000A의 Local IP가 올바르게 설정되어 있는지 확인한다.
(예를들어, TC-3000A Local IP가 10.52.147.91인 경우 다음과 같이 표시된다.)

